
by: Vince Dibona
TL;DR – Key Topics Covered:
- Introduction to guitar chords and their importance for beginners
- What is a chord? Basic definition and significance
- Open chords explained – ideal starting point for beginners
- Eight essential chords:
- Major: C, D, E, A, G
- Minor: Am, Dm, Em
- Step-by-step practice strategy:
- Memorize chord shapes
- Practice smooth chord changes
- Add strumming and rhythm
- Avoid bad habits with proper technique and guidance
- Benefits of working with a guitar teacher to accelerate progress
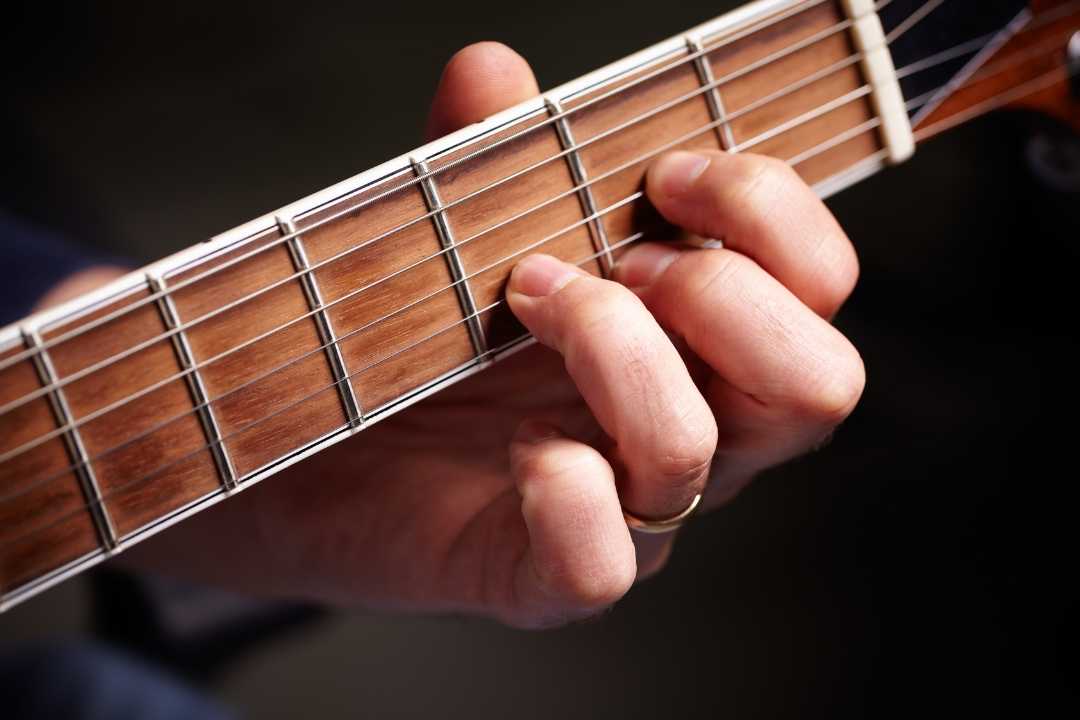
So, you’ve finally done it.You’re following through on your desire to pick up the guitar and begin a life-long journey of musical creativity, expression, and fulfillment.
Congratulations!
But, where do you begin? Quick answer: start with a few basic guitar chords that every guitarist should know and have under their belt. Once you master them, you’ll have an endless repertoire of songs at your disposal!
Keep reading to find out (and learn!) what these magic chords are!
What is a Chord?
A chord is a group of three or more notes played together at the same time. There are important harmonic structures that make these specific notes sound great together, and it’s definitely worth your time to learn more about this later (a highly trained and qualified guitar teacher can help).
For now, let’s focus on the beginner guitar chords that you should begin learning right away.

What Beginner Guitar Chords Should You Learn First?
The most important guitar chords every beginner should know are called open chords. The term “open” refers to playing strings that don’t include fretted notes. Thus, the strings are left “open” as a result, playing the corresponding pitch that the string was tuned to (i.e. playing an open D string results in playing a D note).
Open guitar chords are also often referred to as ‘cowboy’ chords or ‘campfire’ chords. That’s because hundreds of songs are written with them. So even as a beginner, you’ll already have an expansive musical repertoire upon learning them.
What Are the Eight Basic Open Guitar Chords You Need to Learn?
We’ll break these basic open guitar chords into two groups: Major chords and Minor chords.
Major chords have a characteristically happier, brighter sound, while minor chords tend to have a sadder, more melancholic quality. You don’t need to understand the reasons behind how or why these chords are constructed to sound the way they do right now. But if you’re curious, an expert guitar teacher can walk you through it as you get better at this new craft.
For now, you only need to be aware of the tonal differences between these groups.
Below are guitar chord diagrams(also known as chord charts).
Here are some pointers on how to look at them:
- The vertical lines represent the guitar strings, with the lowest (6th) string on the far left and the highest (1st) string on the far right.
- The horizontal lines represent the frets on the guitar’s fretboard.
- The circles indicate which notes on the fretboard should be played
- The numbers within each circle represent the finger to be used for that note (1 = index, 2 = middle finger, 3 = ring finger, 4 = pinky finger).
Now, you’re ready. Let’s start.
Major Open Guitar Chords Diagrams
Let’s take a look at the five major basic guitar chords of the group. These are:

C Major
Our first chord is the C Major chord, often simply referred to as ‘C.’

D Major
Next, we have the D Major chord, often simply referred to as ‘D’.

E Major
Here we have the E Major chord, often simply referred to as ‘E’.

A Major
Here we have the A Major chord, often simply referred to as ‘A’.

G Major
Finally, we have the G Major chord, often simply referred to as ‘G’.
Minor Open Guitar Chords Diagrams
Now let’s look at the three minor basic guitar chords of the group.

A Minor
First we have the A Minor chord, often abbreviated as ‘Am’.

D Minor
Next, we have the D Minor chord, often abbreviated as ‘Dm’.

E Minor
Finally, we have the E Minor chord, often abbreviated as ‘Em’.
Guitar Chords Practice for Beginners
Now that you’re familiar with the beginner guitar chords, it’s time to put them in practice.
Step 1: Memorize the Basic Guitar Chord Shapes
For beginners, you can start by memorizing each chord shape. Refer to the chord charts to determine where to place each finger on the fretboard. To start, focus on placing each finger in position one at a time, as close to the fret bar as possible.
Over time, your goal will be to have all your fingers in place simultaneously. For now, just focus on learning the shapes and coordinating each finger appropriately.
Once all your fingers are in place at the designated positions on the fretboard, gently press down on the strings with each finger, and strum each string until a clear note rings out for every note of the chord.
Some useful tips:
- If a note doesn’t sound clear or seems ‘dead,’ check the position of your finger and ensure it’s not too far from the fret bar. Your fingers should be as close to the fret as possible without resting directly on top of it.
- Use only the minimal amount of pressure needed for a clear note to ring out. Applying more pressure than necessary can lead to discomfort and potential injury. Be mindful of your fretting hand’s thumb position. Keep it located directly behind and in the middle of the fretboard, rather than wrapping it over the top. While there are specific instances where wrapping the thumb over the top is appropriate, these are exceptions to the rule.
- Don’t press your thumb onto the fretboard, as this can lead to hand pain and potential injury.
Avoiding these bad habits from the start is crucial and can save you years of frustration and potential injuries. An expert guitar teacher can guide you here, accelerating your guitar chord practice progress.
Step 2: Changing Guitar Chords
After memorizing these basic guitar chord shapes, your next step is to practice switching between them.
Before you begin directly switching between chord shapes, you want to be able to get your fretting hand in place for each chord from a dead stop position.
Here’s a step-by-step guide:
- First, place your fretting hand in the correct position for the chord you are practicing and gently press down to fret the notes.
- Next, relax each finger while maintaining the shape of your hand for the chord.
- Then, lift your hand slightly away from the fretboard, keeping the shape of your fretting hand in the same position of the chord as if you were still playing it.
- Now, bring your fretting hand back down to the fretboard, ensuring your fingers land in the exact, correct position for the chord. Play the notes to make sure they are clear.
- Perform this step over and over for each chord to get the shape and position ingrained into your muscle memory.
- Once you can perform this comfortably for each chord shape increase the difficulty by lifting your fretting hand away from the fretboard and relaxing it at your side. Slowly bring your hand back to the fretboard, gradually positioning your hand and fingers into the correct chord shape simultaneously before touching the strings. Your goal is to have your hand and fingers in the proper position for each chord before pressing down on the strings.
- The goal is to play the chords instantly from a relaxed position, eliminating the need to move each finger individually. You should be able to shift your fretting hand into the proper chord shape immediately.
Don’t be discouraged if this takes some time to develop; that is a completely normal part of the process, and it’s worth investing the time. Changing between chords will become almost seamless once you ingrain the required muscle memory.
Start by selecting two chords and practice fretting the first one. Then, release the first chord while maintaining the shape of the chord with your fretting hand. Next, while your fretting hand is elevated above the strings, slowly shift it into the next chord shape. Once your fretting hand has fully shifted into the new chord position, gradually bring it down to the strings and fret the notes.
When you can verify that each note is ringing clearly after shifting to the next chord, congratulations! You have successfully switched between chords.
Repeat this process with any pair of chords, aiming to switch between any chord in the group seamlessly.
Examples:
C to GC to DC to EAm to Em
Be sure to randomize the order of what chord shifts to practice, and you are well on your way to mastering these basic guitar chords.
Step 3: Adding Rhythm With Strumming Patterns for Guitar Chords
At this point, we can truly say that you are playing music, marking the beginning of your journey to playing countless songs on the guitar.
There are many basic strumming patterns for guitar chords you can learn to improve your timing, What you pick will depend on chord changes and other factors.
This is the fun part, but I have to stop right here because it goes beyond the scope of our topic today.
An expert guitar teacher can help you develop essential strumming and rhythmic patterns. Trust me, this will bring you closer to your guitar playing goals and enable you to learn your favorite songs or even compose your own!
Taking the Next Step in Your Guitar Playing Journey
You have now learned the eight basic guitar chords that you should start practicing right away to play and create the music you love.
However, if you’re one of the many beginning guitar players who often find themselves caught in a rut, you can easily fall into bad habits without awareness and may prevent you from becoming the guitarist you aspire to be.
You can get yourself unstuck and back on track with the guidance of a highly trained expert guitar teacher. At Twin Cities School of Guitar, your progress is the top priority. With a carefully directed and customized approach tailored to your individual needs, your success is well assured. Together, we’ll eliminate the potential for bad habits to form and even accelerate your learning process.
At Twin Cities Guitar, you can finally achieve your guitar playing goals in a shorter time.
For guitar lessons in Minneapolis or guitar lessons in St. Paul, call 612-470-7790 or click the button below to book your FREE introductory session and start accelerating your guitar-playing journey today!


